Creating an Azure SQL Database, with .Net6 Rest API
Summary: in this tutorial, you will learn how to create a single Azure SQL Database single database, and connect it to your .Net6 Rest API using the Azure SQL single database as a datastore.
Azure SQL Databases is a platform-as-a-service (PAAS) offering of Microsoft Azure. You can provision, connect and manage Azure SQL Database on the Azure portal, a PowerShell script, or an Azure CLI script. You can also query the database using the Query editor in the Azure portal.
Since we already have the source code in the repo. You could just clone it and use it for this tutorial. You can also create your project if you wish to create one from scratch. The source code is a Todo API.
Prerequisites
- Visual Studio 2022 with the ASP.NET and web development workload.
- Active Azure Account
Exercise 1: Create Azure SQL Database on Azure
Sign in to your Azure account at https://portal.azure.com. If you do not already have one, create an account to get a $200 Azure credit. You’ll have 30days to use this credit in addition to free resources available on the portal.
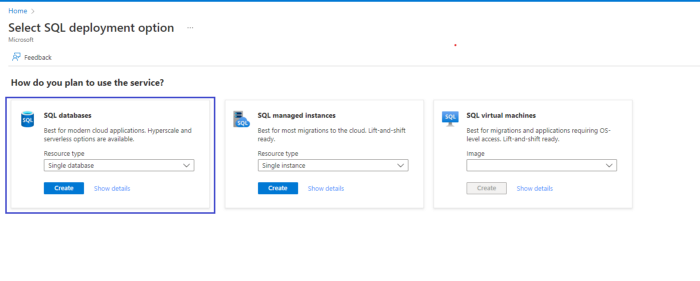
When signed in, Go to the Select SQL Deployment Page. Under SQL Databases, Leave the Resource Type to Single Databases then click Create.
On the Basics Tab. Select your preferred Subscription. For the Resource group, click on Create new and type in TodoAPIRG. For the Database name, Enter in TodoAPIDB. So far, the basics tab should look like this:

Next, click on Create new for Server which would open a new page to create your server details. For the Server name, enter todoapisvr. For the Location, pick a location that is closest to you. For the Authentication method, leave it on Use SQL Authentication. Then select a Server Admin Login and Password of your choice. Click on OK.
Back to the Basics tab, leave Want to use SQL elastic pool set to No. Click on Configure database for Compute + Storage. On the Service tier dropdown, you can configure for whatever compute you prefer but for this article, select Basic (For less demanding workloads) then Select Apply.

The Basics tab should look like the image below, Click Next: Networking to go to the Networking tab.

In the Networking tab, For Network Connectivity, select the Public Endpoint option. For Firewall Rules, set Allow Azure services and resources to access this server to Yes (This would allow for our API when hosted on Azure App Service to access the SQL Database. We would handle that in a different tutorial) and Add current client IP address to Yes as well. The Networking tab should look like the image below. Click Next: Security to go to the Security tab

On the Security tab, you have the option of Enabling Microsoft Defender for SQL. You also have the option of Using system-assigned and user-assigned managed identities to enable central access management between this database and other Azure resources. You can learn more about this here.
You can Select Review + Create to review all selected options and create your SQL Database. On the Review + create tab, Select create.
Sit back, relax and allow Azure to provision you a SQL Database 😃
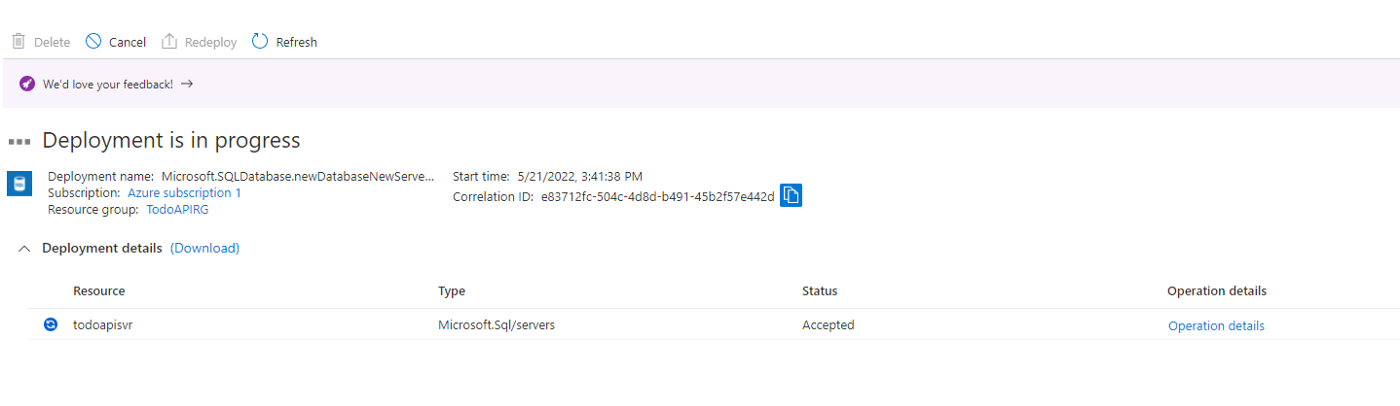

If you’ve gotten this far, pat yourself on the back because you’ve just provisioned an SQL Database on Azure.
Exercise 2: Connecting your Azure SQL Database your local .Net6 project
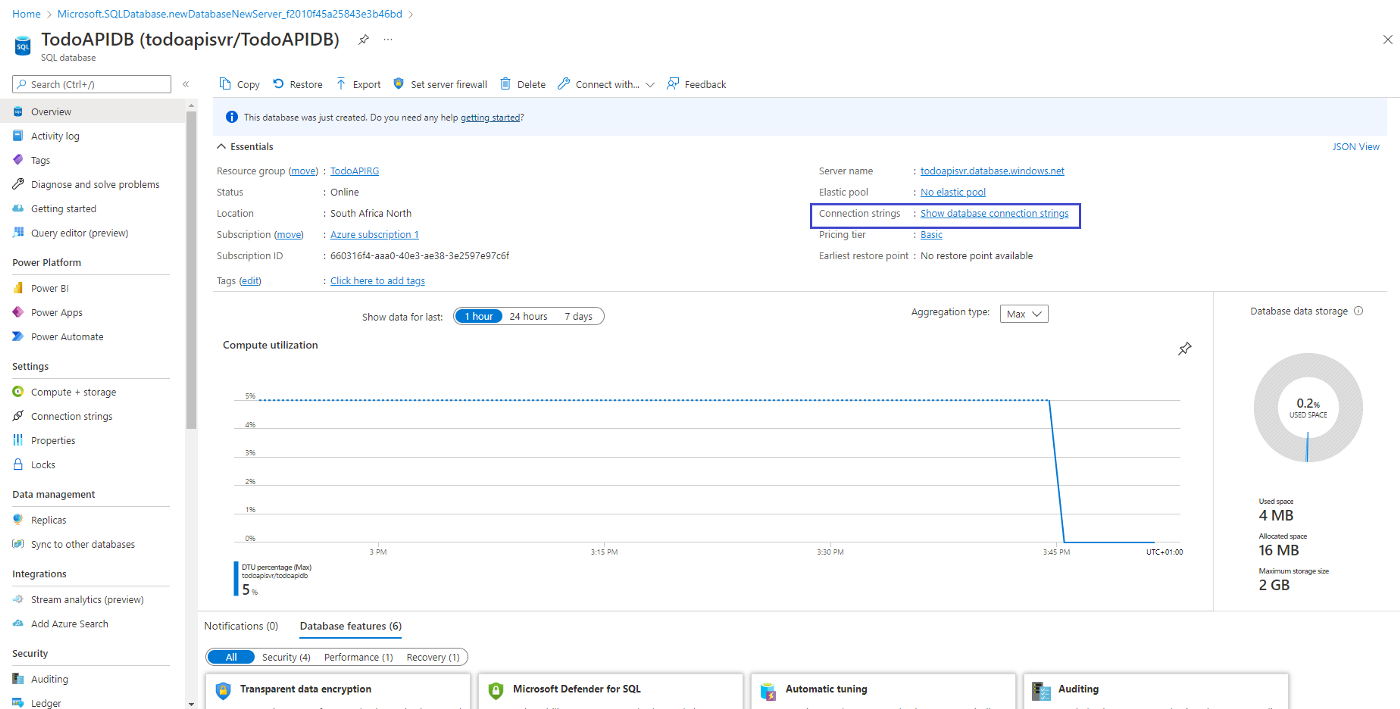
To connect the Azure SQL Database to our local dotnet project. We need to get the connectionstrings. Click on Go to resource on the deployment complete page.
On the SQL Database resource page, Click on Show Database connection strings and copy the connection string for Ado.net.
Next, Clone the project from here or create your project from scratch. When you have the project on your machine. Paste the copied connection string in the appsettings.development.json file, then replace {your_password} with the password used in creating your server. It should look like this:
Next, we need to update the Azure SQL Database using the migrations file on our project. If there isn’t any migrations file. Create one.
Click on Tools →NuGet Package Manager →Package Manager Console to open the Package Manager Console. In the package manager console, Change the directory into the project by typing “cd .\MinimalAPI”.
Next, create migration by typing “dotnet ef migrations add InitMigration” which would create a migration file.
If you already have a migrations file, update the database with the command “dotnet ef database update”.
Exercise 3: Confirm that we are using Azure SQL Database with our project
Great job so far. We can now confirm that we are using Azure SQL Database with our project on local by clicking on Query editor on our resource page, then put in our server login and password in their respective fields. When done, select Ok.
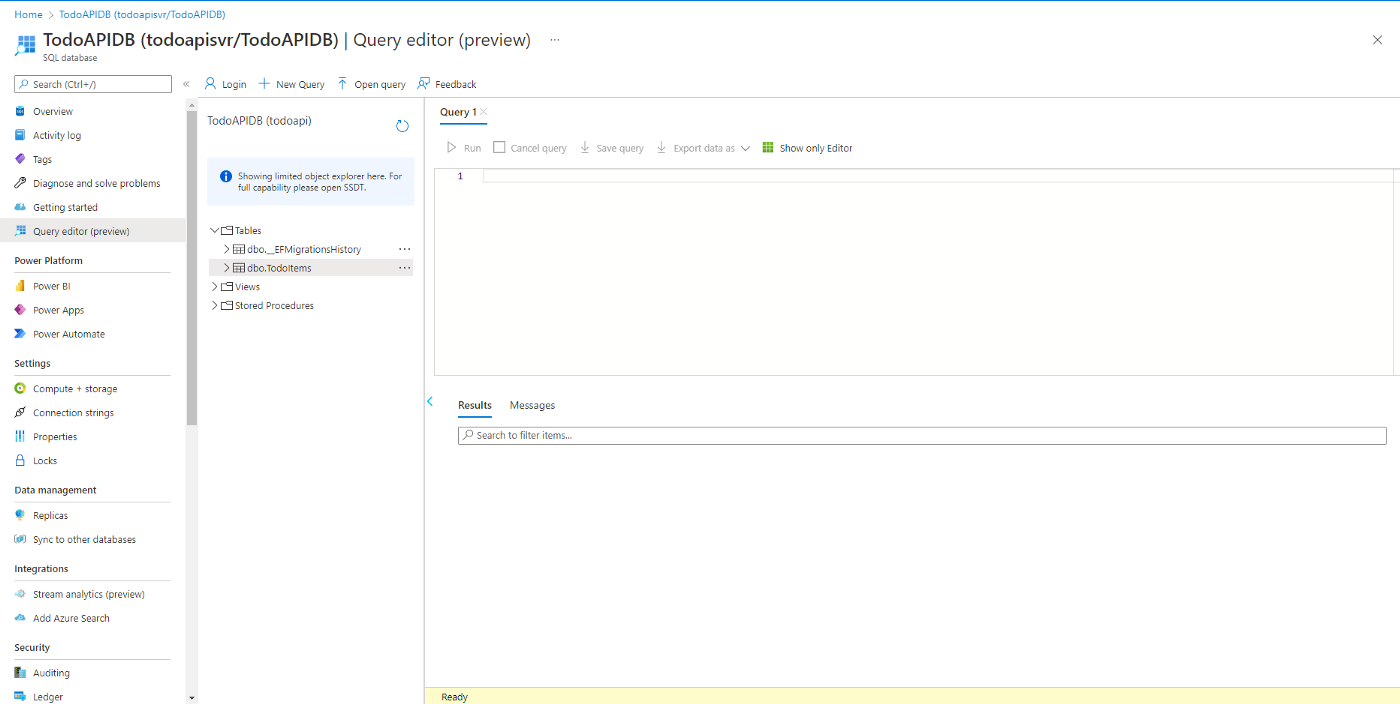
As you can see, the TodoItems table has been updated on our Azure SQL table. Now let persist data into the database by running a Create operation. Run the project on Visual Studio and Create a Todo Item.

Our TodoItem has successfully been created. Next, let’s check the Query Editor again to confirm that our Todo Item persisted in Azure SQL Database. Click on the options button beside dbo.TodoItems and select Top 1000 Rows. The result below shows our Todo Item was persisted in the Database.

In this tutorial, you have learned how to provision an Azure SQL Database single database and use that database in our .Net6 Rest API. In our next article, we would deploy our Rest API to Azure App Service.
Creating an Azure SQL Database, with .Net6 Rest API
https://www.egabriel.dev/2022/06/12/dotnet6azuresqldatabase/